Todays workflow goes like this... So that the following images best show the natural state of the settings there is no Photoshop, no cropping, no adjustments. I used either jpegs or camera raw as interpreted by default settings in Picasa. No noise reduction or contrast changes.
My digital cameras have always had about that level of ISO limitation. Even my 5 year old design 7D. Certainly my 40D. And 5 years is forever in digital camera design. I'm not a camera every year or two guy i have to make them last. Buy early and use it till obsolescence or major breakdown.
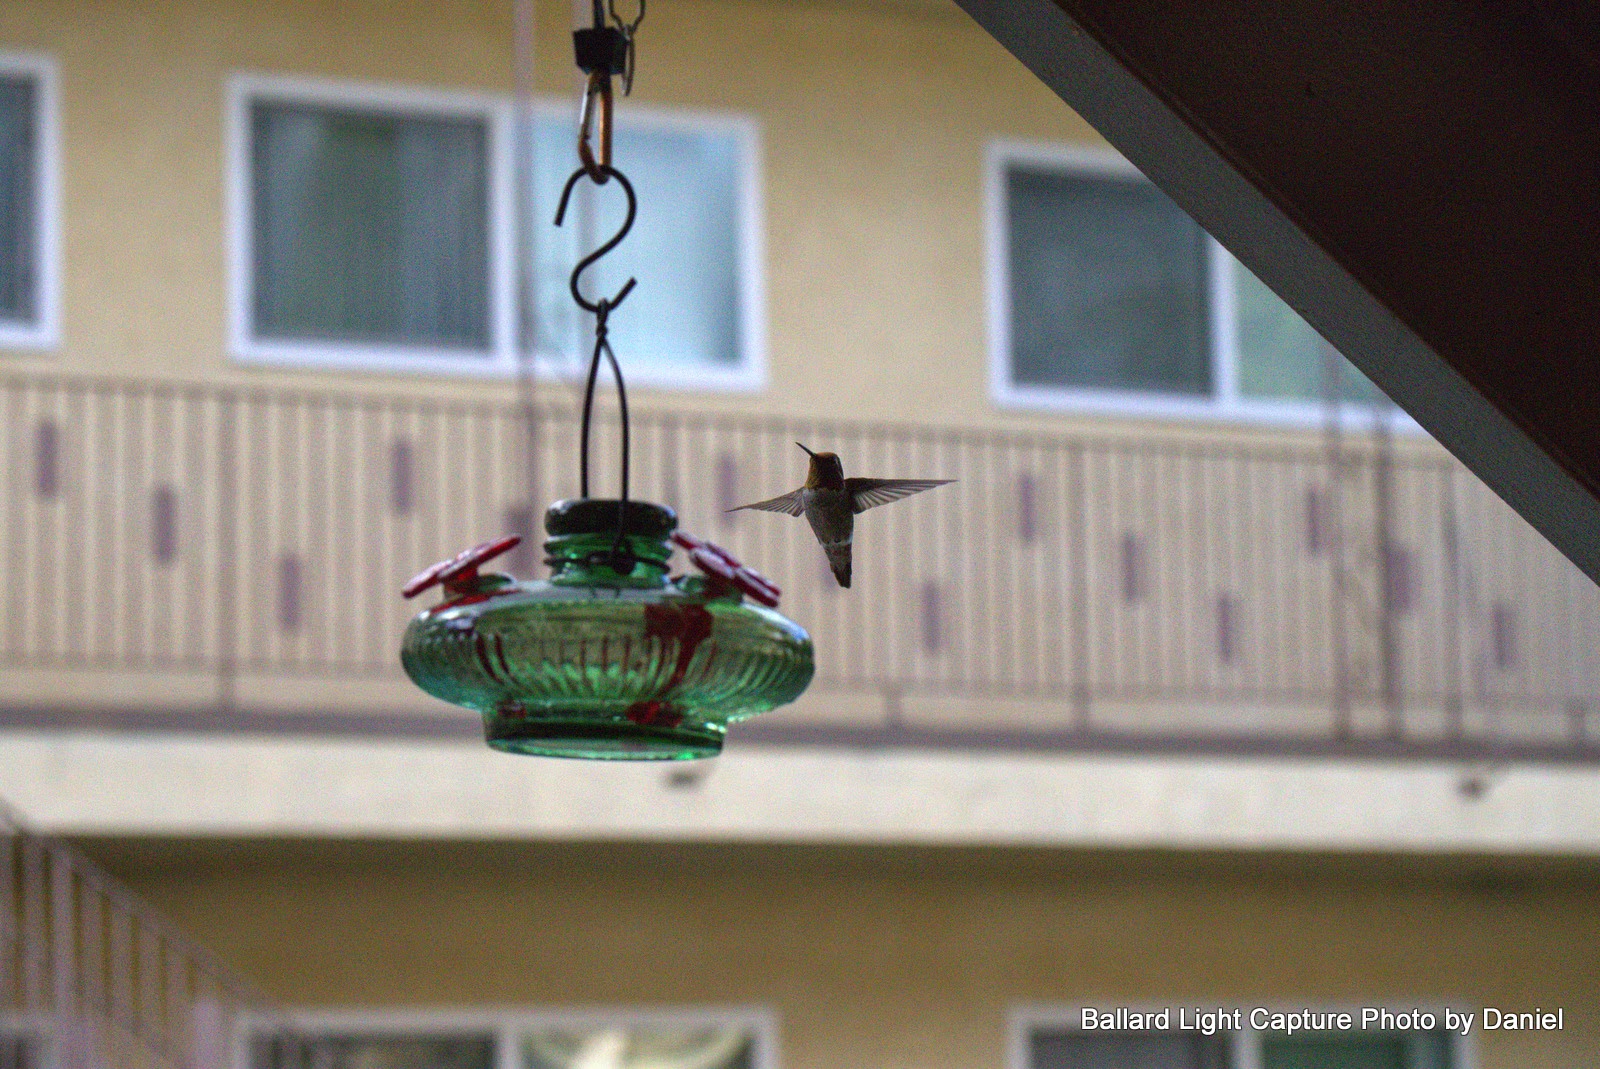
So yesterday I took the 7DII w/ 60mm EFS Macro out for a moderate challenge. Hummingbirds at a feeder in back-lit reflected daylight. This tested several things for me at once. First was myself. I'm starting to get familiar with a bewildering set of AF options. And some small changes in "switchology".
Once I got that going I selected what I hoped to be the right mode to lock focus onto the hummingbird like a weapons lock radar on a fighter jet. If you hand hold & pan around you complicate this massively because everything is moving in the frame. Lock the camera down on a tripod and you can really fine tune. That's what I did a little later in the shoot. But I started handheld and in familiar territory settings wise.

F4.5, ISO 3200, 1/4000th shutter.
It's time to crank this baby up a bit. I am a methodical guy. ISO 5000. Shutter 1/8000. Then put the drive in 10 FPS mode. Shutter priority is giving me a F4.5 or higher aperture via the programming. Hold the button downt. Wheee! Blitzed 15 frames, I'll show you 6. Fast wings=use fast frame rate!


F5.6 ISO 5000 1/8000th shutter.

F4, ISO 5000, 1/8000th shutter.
Okay I attach my Speedlite 430EX and set it to high speed mode.Nice to use this as just fill flash given the incoming light. Not bad. Okay enough hand held, time to get the tri pod and speedlite. But time flies, it's a bit later and my light is fading. Moved the camera even closer to the feeder and get sky instead of wall for background. Now we are about 6 feet from the feeder. This really closes down the DOF.
| Subject distance | 6 ft |
| Depth of field | |
| Near limit | 5.76 ft |
| Far limit | 6.26 ft |
| Total | 0.5 ft |
| In front of subject | 0.24 ft (48%) |
| Behind subject | 0.26 ft (52%) |
| Hyperfocal distance | 138.6 ft |
| Circle of confusion | 0.019 mm |
Same lens. I decide to go for broke on ISO. 16000. Crazy high I expect serious noise. Yup sixteen thousand. 10 FPS so I get all the best moments I can. 1/4000th shutter. The aperture is now at 8 getting some DOF back. Still shallow but doable.
The flash can produce maybe one or two flashes per second so a lot of frames are just natural light, back lit, and we get what we got. Because of the back lighting the bird gets silhouetted. Flash of course reverses that when it goes off. Look how little noise there is!

Finally I start to hit the shutter at the right moment for the bird and when the flash is charged. Not gunning it, just selectively hitting the shutter button.


F8 ISO 16,000, 1/4000th
Here is one of these cropped and worked up in Photoshop.
Blog.jpg)
No comments:
Post a Comment